
After installing WordPress and configuring your basic settings there are a few must-have plugins you should install.
Plugins are sort of like apps you might add to your cell phone.
They add features and functionality to your site that would require you to do lots of manual coding yourself if you couldn’t install a plugin.
Adding plugins should be done with care. Most plugins are created by 3rd parties – not by WordPress – which means that they could open the door for malware/hackers if the plugin code was improperly written.
Having too many plugins can also slow down your website. No one likes to visit a slow site! Google also prefers fast websites and keeping your site loading more quickly may help with your rankings in search engines.
This list of free, trusted plugins will improve your site’s security, on-page SEO, image compression and create some pages that Google likes to see on any site.
iThemes Security
Hide your login URL and more
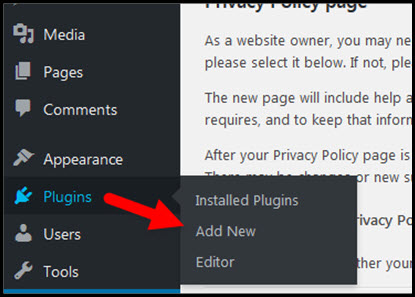
Go to Plugins/Add New in your WordPress dashboard:
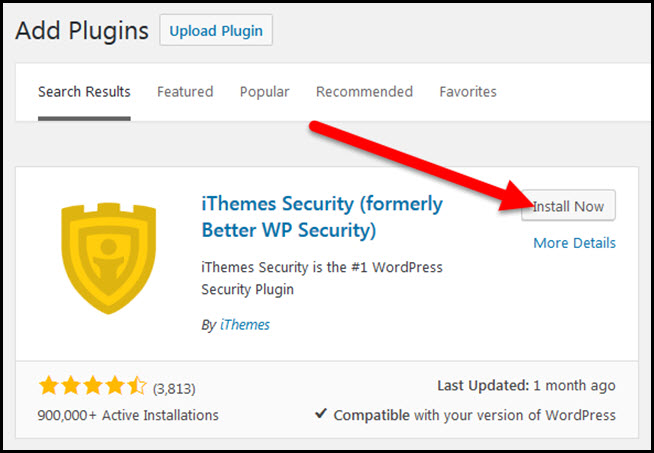
Enter “ithemes security” in the search box (you don’t have to click a search button – WordPress will automatically start showing plugins that match your search term in the section below the search field):

Click the Install Now button for the iThemes Security plugin:
Click the Activate button:

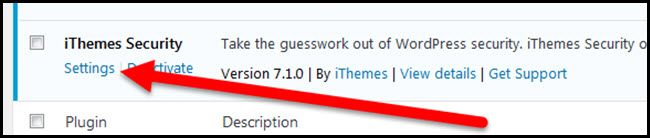
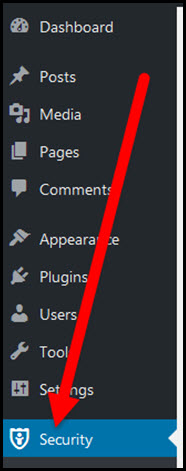
Click the Settings link under the iThemes Security plugin listing:
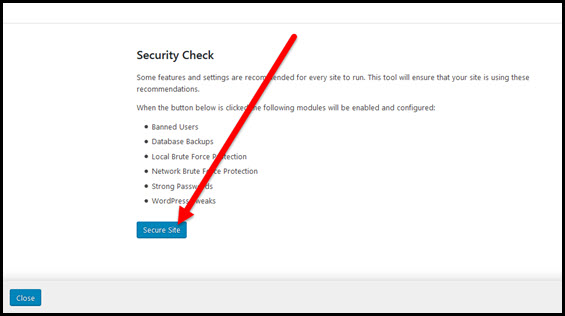
Click the Secure Site button:
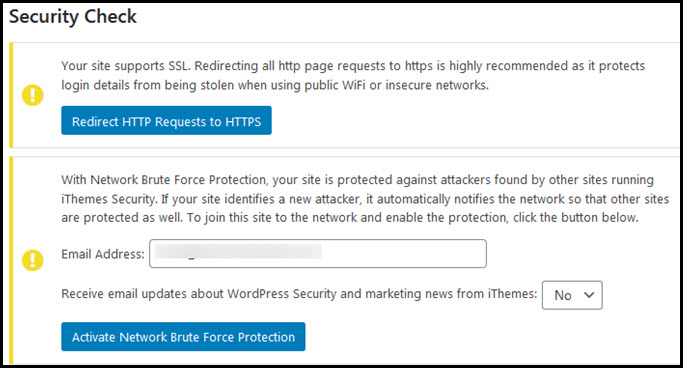
You may see one or two messages on the next screen:
- If you see the message “Your site supports SSL” then click the “Redirect HTTP requests to HTTPS” button
- If you see message about brute force protection click the Activate Network Brute Force Protection button. If you also change the “Receive email updates” setting to “Y” then you’ll get emails about your site from the plugin. While you can ignore many of them these emails will also let you know when someone is trying to attack your site. You’ll see an email with repeated denials for access to your site all come through in a row – that’s a clue you want to check your site and make sure it’s still operating as it should.
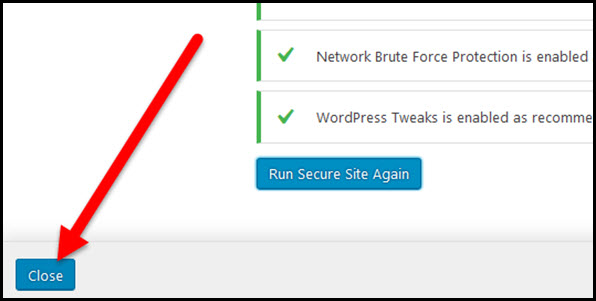
Click the Close button:
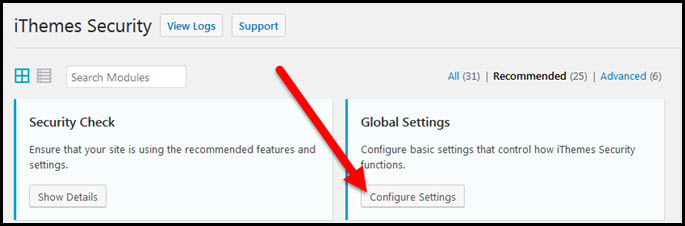
Click the Configure Settings button for the Global Settings box:
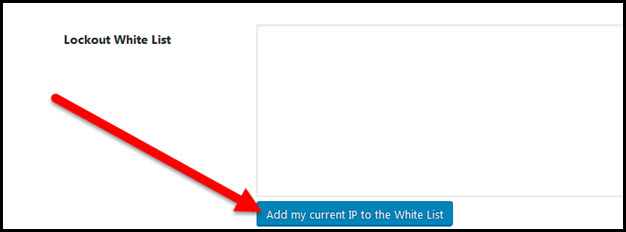
Scroll down to the Lockout White List section and click the “Add my current IP to the White list” button – this will make sure you don’t accidentally get locked out of your site from your own IP address:
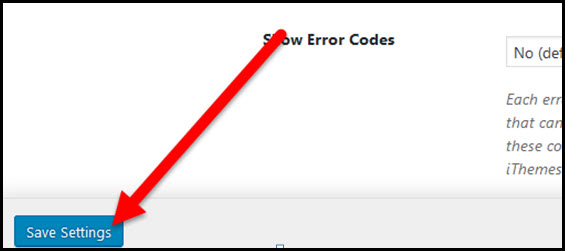
Scroll down and click the Save Settings button:
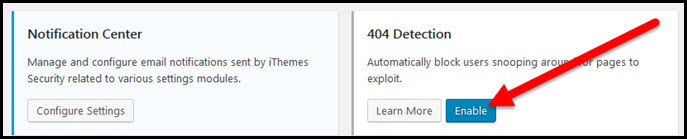
Click the Enable button for the 404 Detection box:
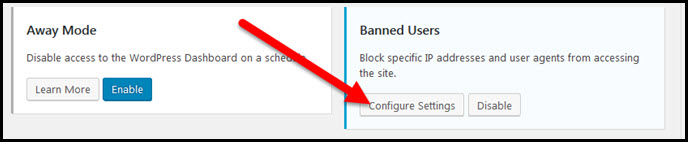
Click the Configure Settings button for the Banned Users box:
Check the box to “Enable HackRepair.com’s blacklist feature”:
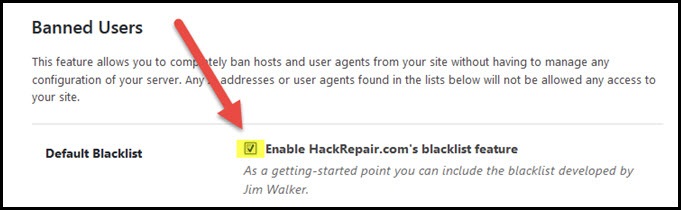
Scroll down and click the Save Settings button.
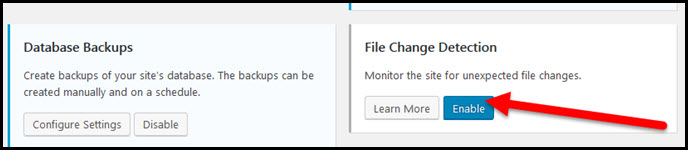
Click the Enable button in the File Change Detection box – you will now receive emails about file changes made to your site. Most of the time, these are changes you’ve made while working on the site or changes your host has made however, keep an eye out for changes to major files of your site – like your wp-config file. Emails about changes to that file could indicate someone hacking your site and you’ll want to explore your site immediately to see if everything is okay:
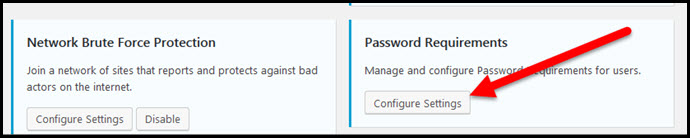
Click the Configure Settings button in the Password Requirements box:
Check the box to Enable strong passwords and set the minimum role to Subscriber:
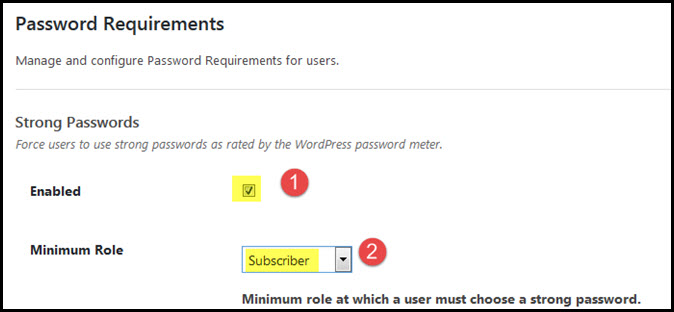
Click the Save Settings button.
Click the Enable button in the System Tweaks box:
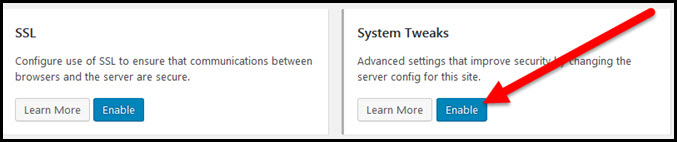
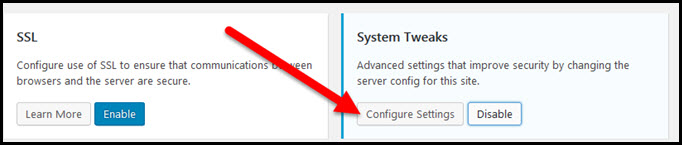
Click the Configure Settings button in the System Tweaks box:
Check all the boxes in the System Tweaks settings showing as checked in the images below:
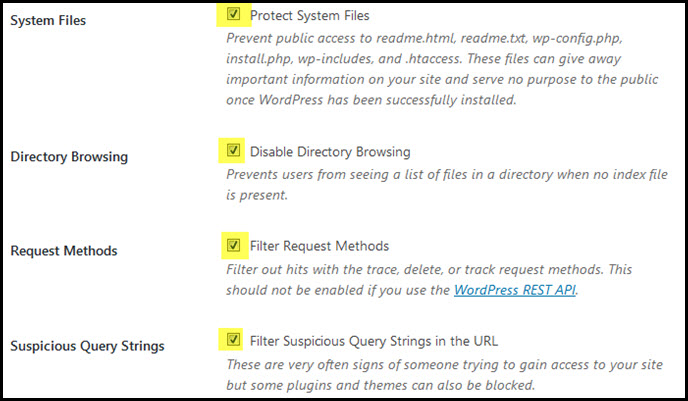

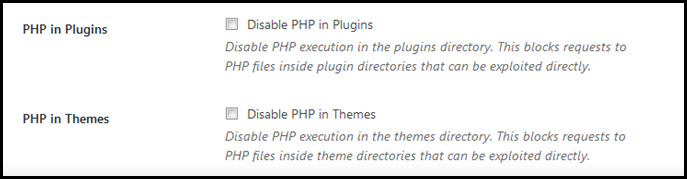
Click the Save Settings button.
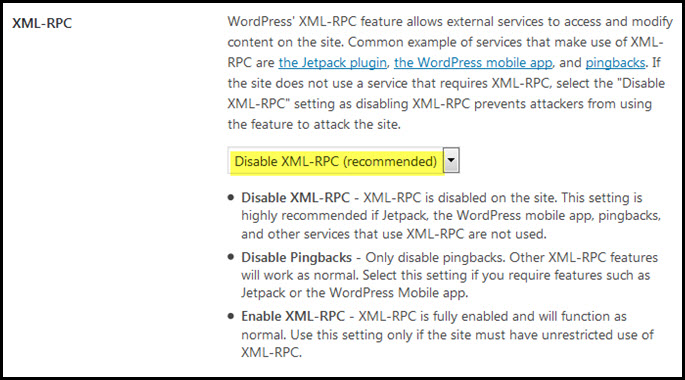
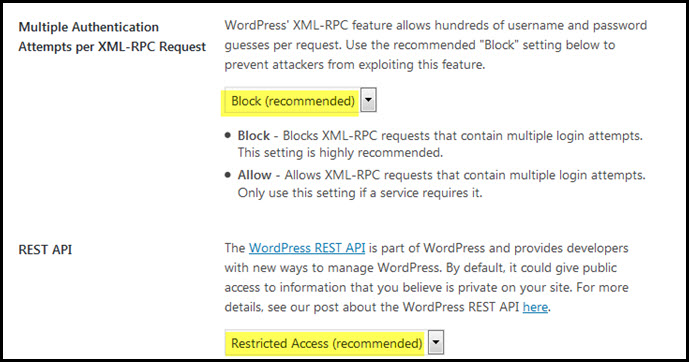
Click the Configure Settings button in the WordPress Tweaks box:
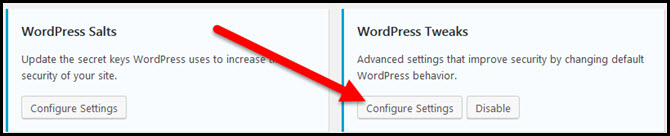
Use the settings shown in the images below in the WordPress Tweaks section:
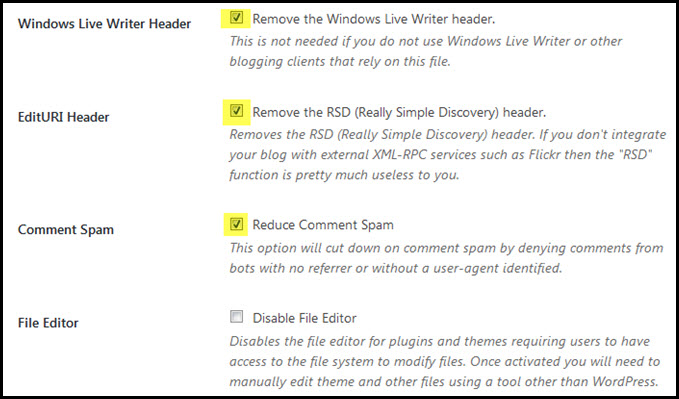
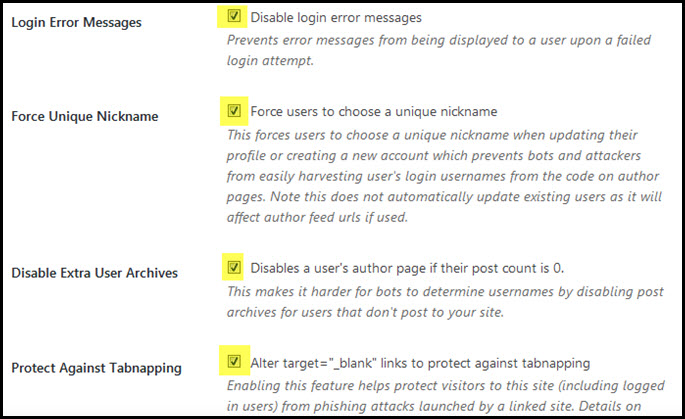
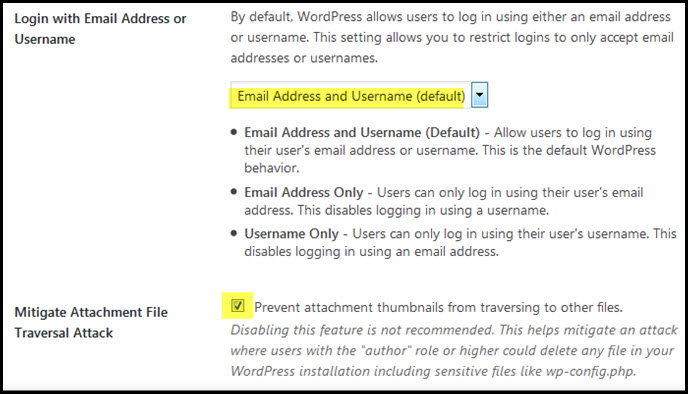
Click the Save Settings button.
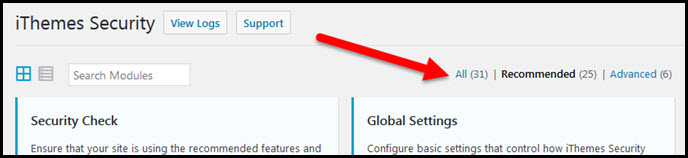
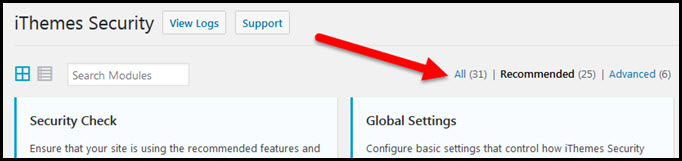
Scroll back to the top and click the All link:
Click the Configure Settings button for the Admin User box:

Check the box to “Change the ID of the user with ID 1” (if this is not a new site and you have published content on the site you should perform a site backup before proceeding):
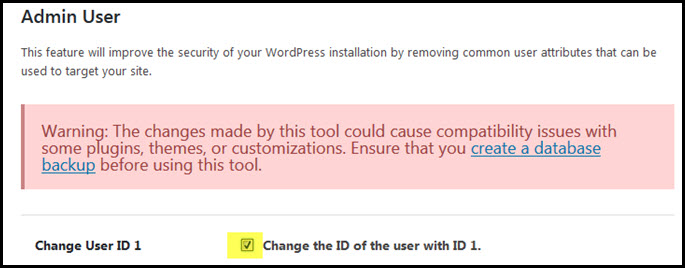
Click the Save Settings button (you may get logged out of your site – just log back in).
If you were logged out click the Settings option in the left sidebar of your WordPress dashboard to return to the Security settings screen:
Click the All link again:
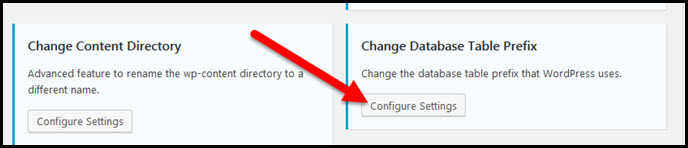
Click the Configure Settings button in the Change Database Table Prefix box:
Change the setting to Yes (if this is not a new site and you have published content on the site please backup your site before proceeding):
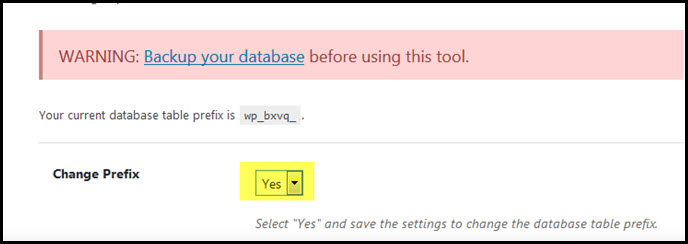
Click the Save Settings button if you see one. Clicking Yes may just take you back to the general Settings screen for the plugin (a pop up box may also show you the new prefix for your database – you don’t need to know it).
Click the Configure Settings button for the Hide Backend box (if you don’t see that box click the All link again at the top of the screen):
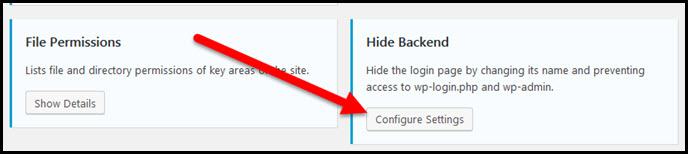
Check the box to “Enable the hide backend feature” – this will cause more setting boxes to show up:

Change “wplogin” to something else – something meaningful to you:
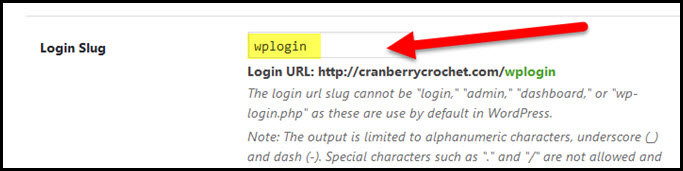
Click the Save Settings button – NOTE: This step changes your login URL!! You will no longer be able to login at yourdomain.com/wp-admin. Instead, your new login URL becomes yourdomain.com/yourchosenphrase. This step hides your login screen from potential hackers. MAKE A NOTE OF YOUR NEW LOGIN URL!
You’re done with the iThemes Security plugin settings.
Contact Form
Help your readers connect with you
A contact form page on your site allows your visitors to contact you privately through email.
Go to Plugins/Add New in the left sidebar of your WordPress dashboard.
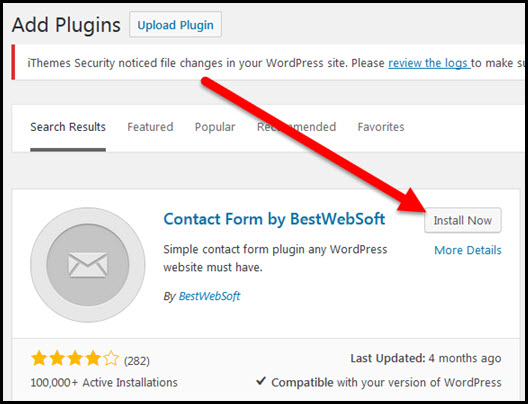
Use the search box to look for the “contact form by bestwebsoft” plugin:

Click the Install Now button for the Contact Form by BestWebSoft plugin:
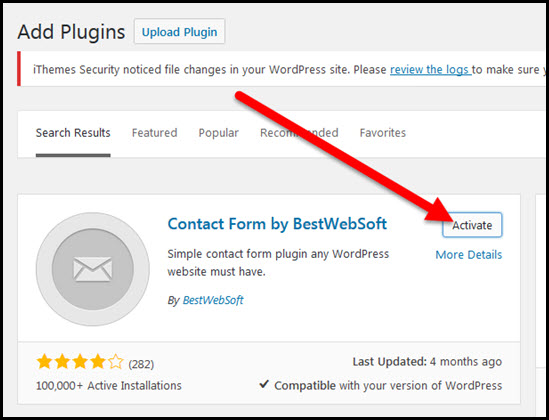
Click the Activate button:
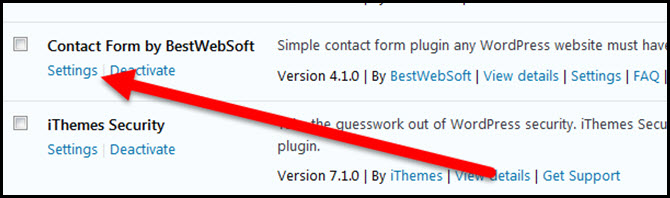
Click the Settings link under the Contact Form by BestWebSoft plugin:
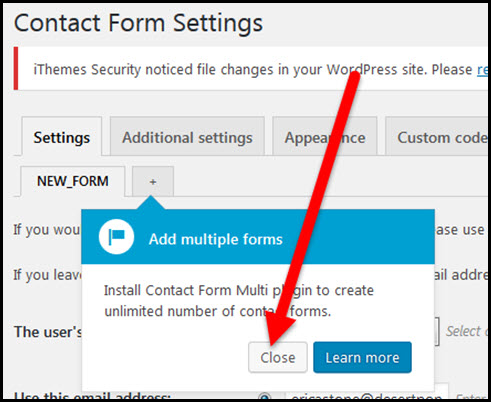
Click the Close button on the pop up box if one comes up:
By default, the plugin uses your WordPress email address in the email address field – change this to another address if you want any emails from visitors to go to a different email address:
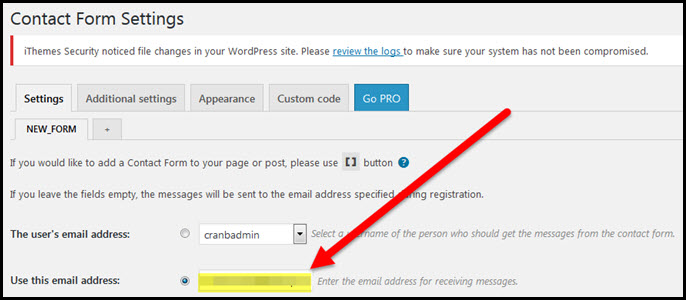
Click the Save Changes button if you made changes.
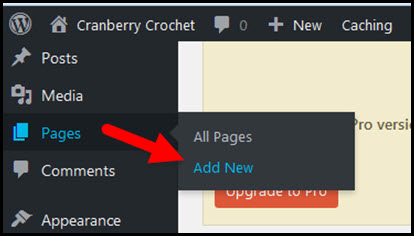
Go to Pages/Add New in the left sidebar of your WordPress dashboard:
Title the new page “Contact” (without quotes):
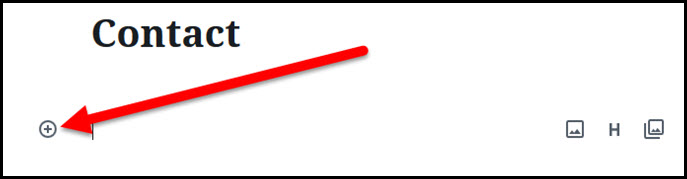
Click the + button (the Gutenberg add block icon):
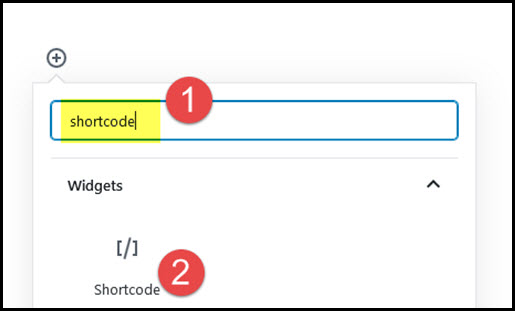
Do a search for the Shortcode block and then click on the shortcode icon:
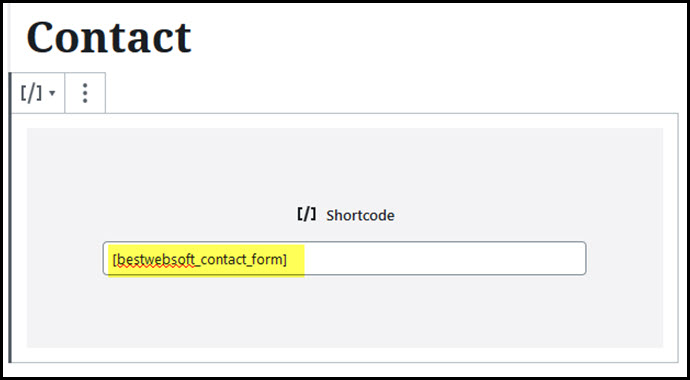
Enter the contact form’s shortcode in the shortcode field:
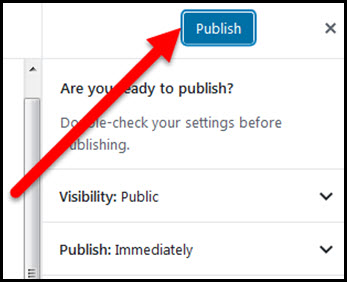
Click the Publish button:

Click the Publish button again to confirm and make the page live:
If you look at a live view of your site you should see a link to your new Contact page. If you don’t see the link you can find it at yourdomain.com/contact. (If you don’t see the link on your home page you’ll be fixing that in a future set of steps in this series.)
Cookie Notice Plugin
Lets your visitors know your site uses cookies
Cookies (and I don’t mean chocolate chip) are little bits of tracking code that get embedded on a visitor’s browser. Notifying your site visitors that you your site uses cookies helps you comply with various laws requiring such disclosures.
Go to Plugins/Add New in the left sidebar of your WordPress dashboard.
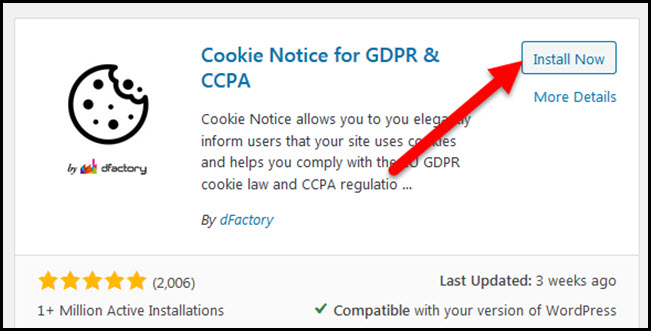
Use the search field to look for “cookie notice” plugin:

Click the Install Now button for the Cookie Notice for GDPR & CCPA plugin:
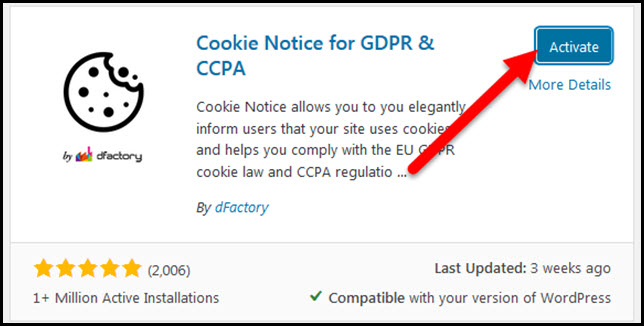
Click the Activate button for the plugin:
That’s it for the cookie notice plugin!
Simple Sitemap
Help your visitors understand your site structure
There are two kinds of sitemaps:
- HTML sitemap – this kind of sitemap can be used to create a page on your website that lists all of your posts and pages. It’s meant to be a resource for your site visitors so they can see how your site is laid out and can find various sections, pages, or posts.
- XML sitemap – this kind of sitemap is formatted to be read by search engine bots. It’s written in a code and layout that Google, for example, can more easily crawl in order to understand your website’s layout, structure, posts and pages.
Ideally, you should have BOTH kinds of sitemaps on your site. In this step, you’re going to add the HTML sitemap. (We’ll get to the XML sitemap in a bit.)
Go to Plugins/Add New in the left sidebar of your WordPress dashboard.
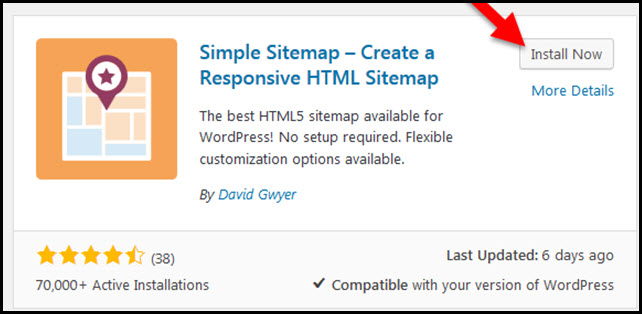
Use the search field to look for the “simple sitemap” plugin:

Click the Install Now button for the Simple Sitemap plugin:
Click the Activate button for the plugin:

Click on Pages/Add New in the left sidebar of your WordPress dashboard:
Title the new page “Sitemap” (without quotes):
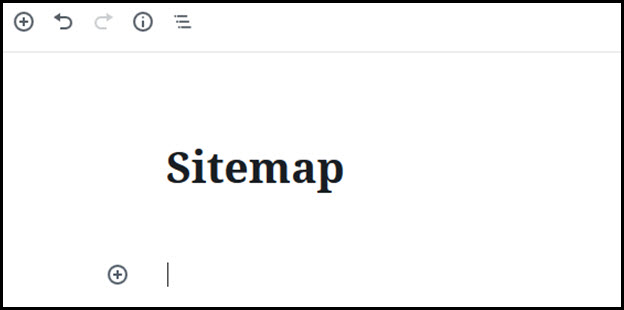
Click the + button (Gutenberg add block icon):
Click the drop down arrow next to the Simple Sitemap tab:
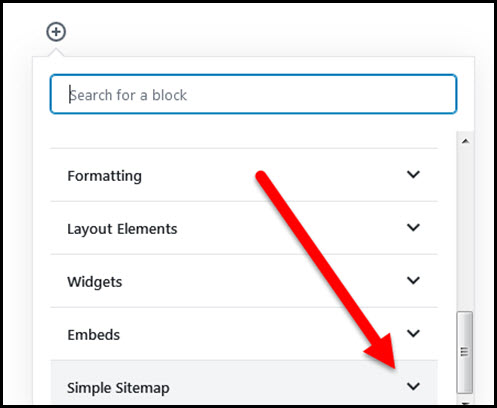
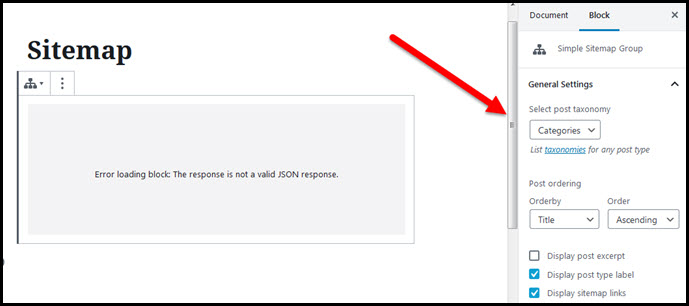
Select the Simple Sitemap Group icon:
NOTE: You may see an error message but the page will work anyway – use the boxes on the right to change your settings if needed (I use the default settings):
Click the Publish button in the upper right corner of the screen.
Click the Publish button again to confirm you want to make the page live.
You should now see a link to your Sitemap page on the live view of your site. If you don’t see the link you can find it at yourdomain.com/sitemap. (If you don’t see the link on your home page you’ll be fixing that in a future set of steps in this series.)
Your HTML sitemap page is done.
Smush
Compress images to keep them lightweight
If you haven’t already heard, the speed with which your websites loads IS a ranking factor in Google. You want to use all the tools at your disposal to keep your site loading as quickly as possible.
Images are a big problem for websites. You certainly want them on your site but the file size of images is often very large.
This plugin compresses images that you upload to your site so they take up as little space as possible. There’s also a setting that will “lazy load” the images lower on the page so that they don’t slow down the display of your website for your visitors.
Go to Plugins/Add New in the left sidebar of your WordPress dashboard.
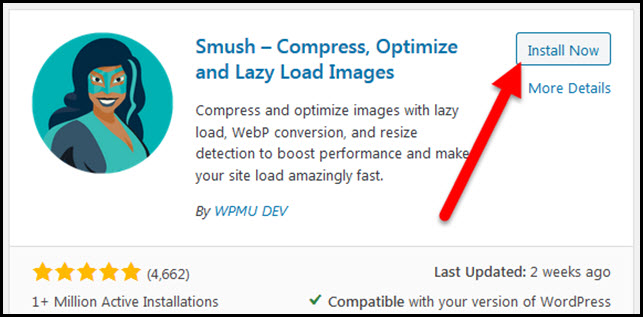
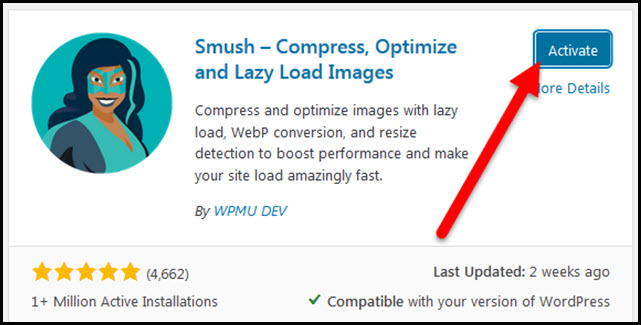
Use the search field to find the “smush compress, optimize, and lazy load images”:

Click the Install Now button for the Smush Image Compression and Optimization plugin:
Click the Activate button for the plugin:
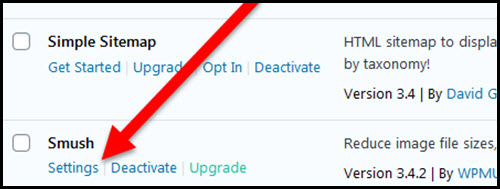
Click the Settings link under the Smush plugin:
Click the Begin Setup button:
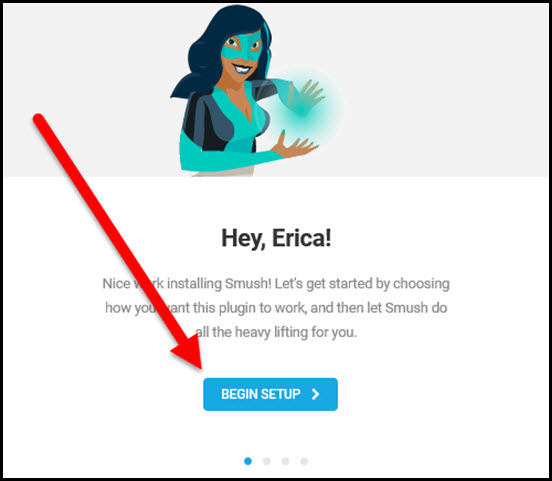
You want to use all of the default settings so leave everything as-is and just click the Next buttons in the pop up box to complete the installation of the plugin.
Yoast SEO
Helps your site rank better in search engines
A plugin for SEO (search engine optimization) can be used to configure settings on your site that can help your posts rank better in Google.
Go to Plugins/Add New in the left sidebar of your WordPress dashboard.
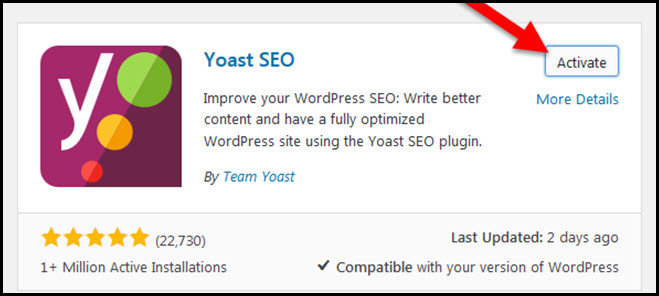
Use the search field to look for the “yoast seo” plugin:

Click the Install Now button for the Yoast SEO plugin:

Click the Activate button for the plugin:
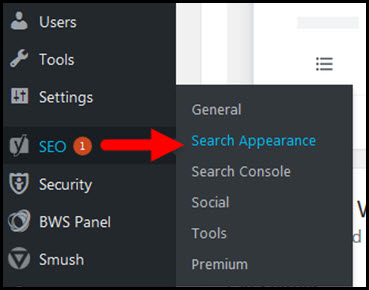
Go to SEO/Search Appearance in the left sidebar of your WordPress dashboard:
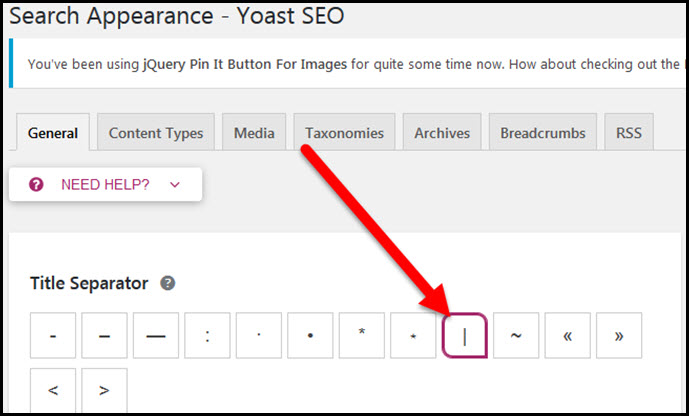
Select a separator – the separator symbol you choose will show up in title fields that show two or more pieces of information.
For example, the meta title of your posts might be structured as the post title followed by the name of your site.
The separator symbol would show in Google search results between the post title and the site name. I like to use the pipe symbol:
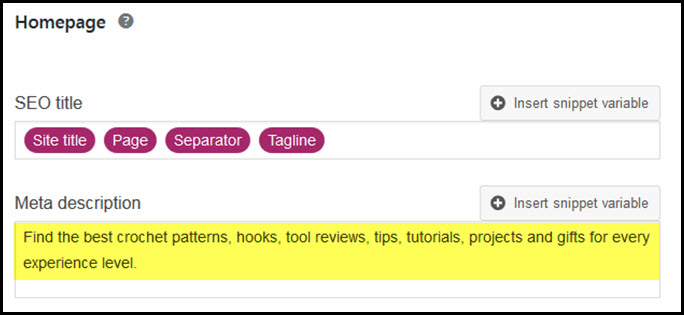
Scroll down to the Homepage section:
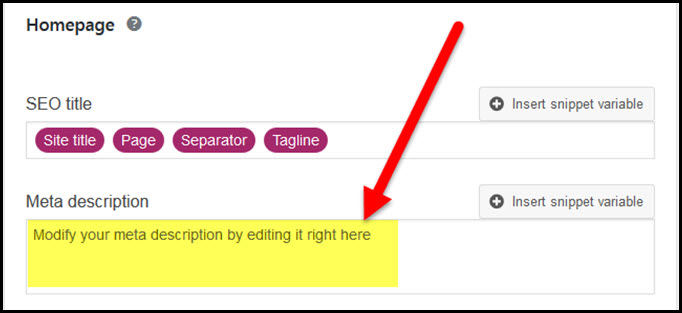
The SEO title field allows you to choose how your site’s home page meta title (the title that will show in search results) will be structured.
By default, the home page will consist of the Site title followed by the Page number (home pages showing all of your blog posts often run over into multiple pages) followed by the Separator you chose in the previous step followed by your site’s Tagline – I recommend you leave that as-is.
The second field asks for your home page meta description. The meta description for your site’s home page is – usually – the text that would show in search result listings UNDER the site title when the home page comes up in search results (such as in Google):
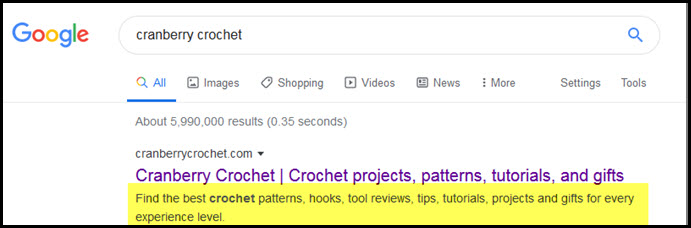
Consider this your free advertising spot in Google search results!
A meta description tells people what a page or post is all about. A well written meta description can attract more searchers to your listing in search results.
You have 158 characters you can use in your meta description before the text is cut off in Google.
Mobile devices only show about 120 characters.
Therefore, you can write meta descriptions that are up to 158 characters long BUT you want to make sure to have your most important words in the front of your meta description since the last 38 characters may be cut off on mobile devices.
The meta description for your home page should mention your site’s niche as close to the front of the description as possible. It should clearly explain what people will find on your site. It should give people a reason to WANT to visit your site.
This post gives some insight onto how to write strong meta descriptions: Neil Patel’s post on How to Write a Meta Description.
You can use this tool to check and make sure you haven’t gone over 158 characters: Meta Description Length Calculator.
To fill in the meta description field for your site:
Write a meta description for your site’s home page that is no more than 158 characters long and put it in the meta description field of the SEO/Search Appearance tab:
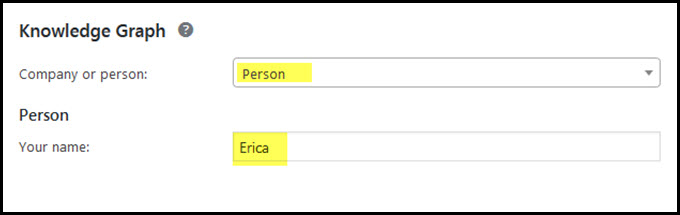
Scroll down to the Knowledge Graph section and choose whether you want to be known as a company or a person.
If your site is going to be a blog I suggest you choose “person”. If you want your site to be known as a company, you could enter your site’s name as the company name. You also do not have to use your real name as the person name. You CAN use an alias instead:
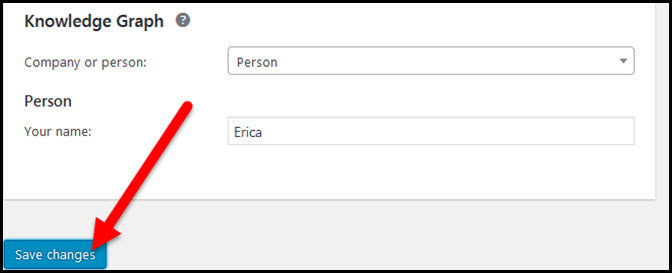
Scroll down and click the Save Changes button:
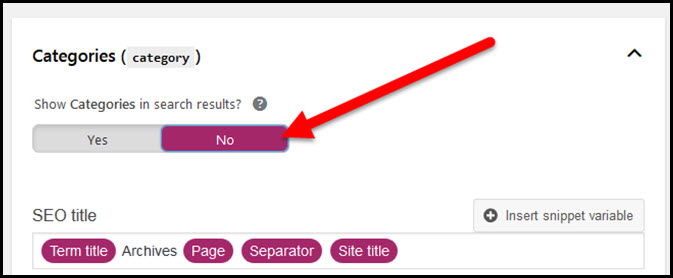
Click the Taxonomies tab in SEO/Settings:

Under the Categories section change “Show Categories in search results?” from Yes to NO. You don’t want your category URLs to be in the Google search index. It’s bad for SEO as Google doesn’t like to show those kinds of pages due to the poor search user experience they present:
Scroll down and click the drop down arrow for the Tags section:

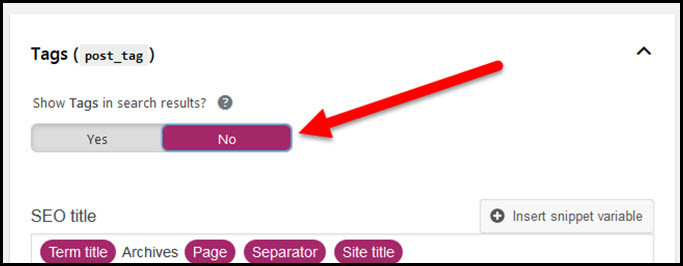
Under the Tags section, change “Show Tags in search results?” from Yes to NO (for the same reason as Categories):
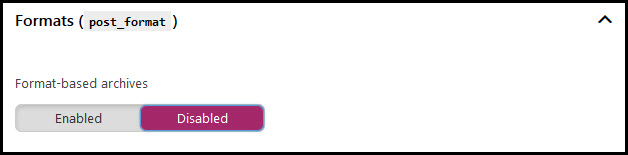
Click the drop down arrow for the Format section:

Change “Format-based archives” from Enabled to Disabled:
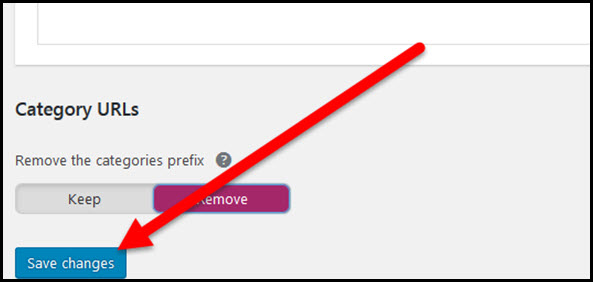
Scroll down to the Category URLs section and change the setting from Keep to REMOVE (I don’t like my post URLs to include the category name – I think it makes them too long and I want my post title itself to be as close to the front of the URL as possible for SEO purposes):

Click the Save Changes button:
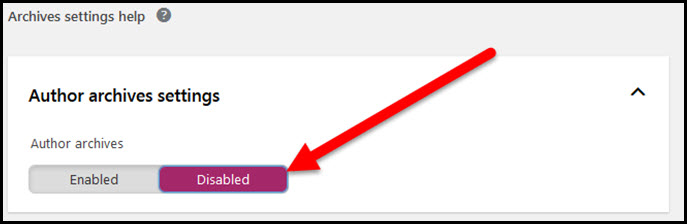
Click the Archives tab in SEO/Settings:

Change “Author archives” to Disabled:
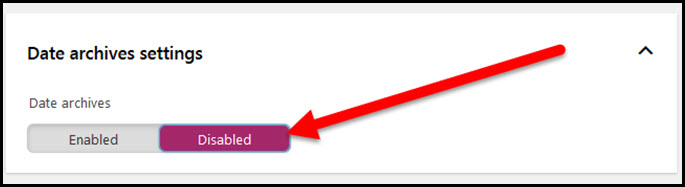
Click the drop down arrow for the “Date archives settings” box:

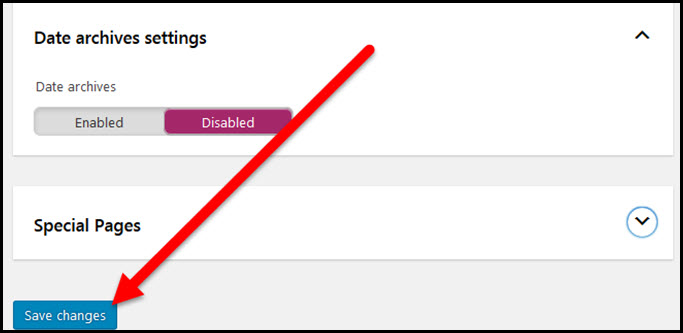
Change “Date archives” to Disabled:
Click the Save Changes button:
You’re done with the Yoast SEO plugin settings.
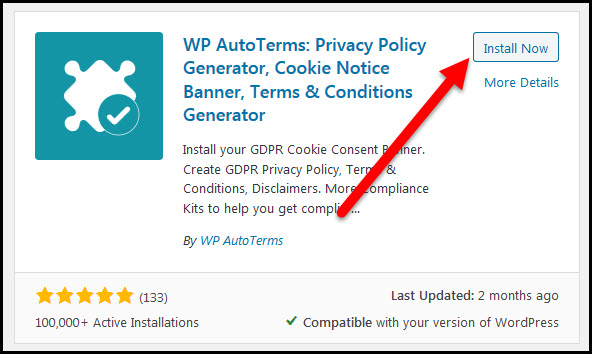
WP AutoTerms Privacy Policy Plugin
Comply with online disclosure laws
Go to Plugins/Add New in the left sidebar of your WordPress dashboard.
Use the search field to look for the “wp autoterms” plugin:

Click the Install Now button for the WP AutoTerms Privacy Policy Generator plugin:
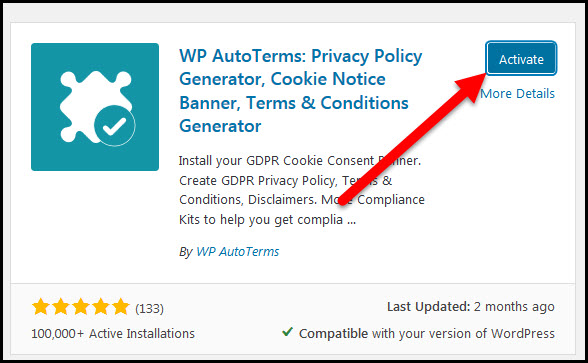
Click the Activate button for the WP AutoTerms plugin:
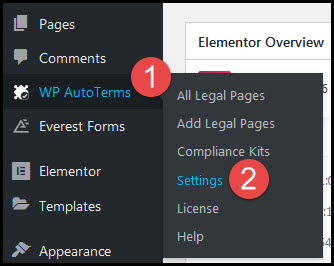
Go to WP AutoTerms/Settings in your WordPress dashboard:
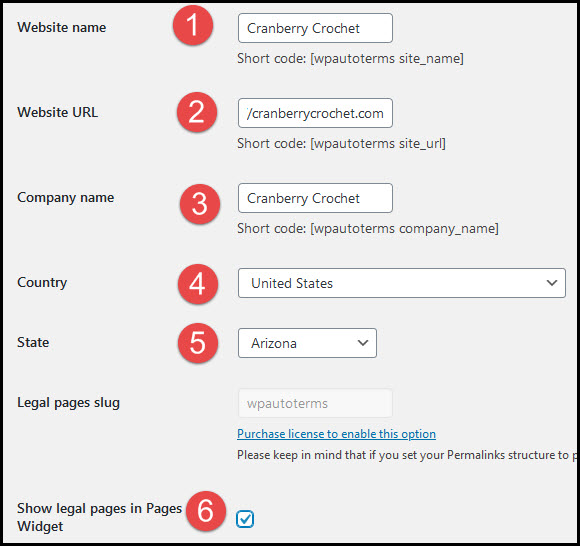
Put your website name in the “Website name” and “Company name” fields.
Put your website homepage URL in the “Website URL” field.
Select your country and state.
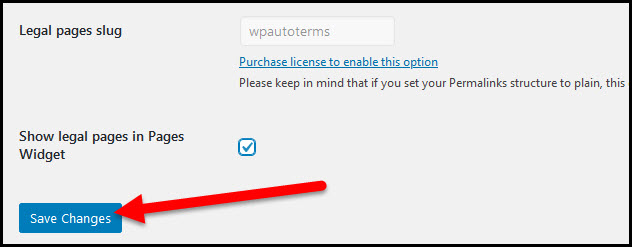
Check the “Show legal pages in Pages widget” box.
Click the Save Changes button:
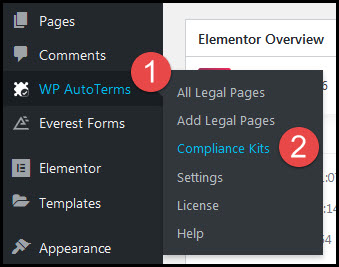
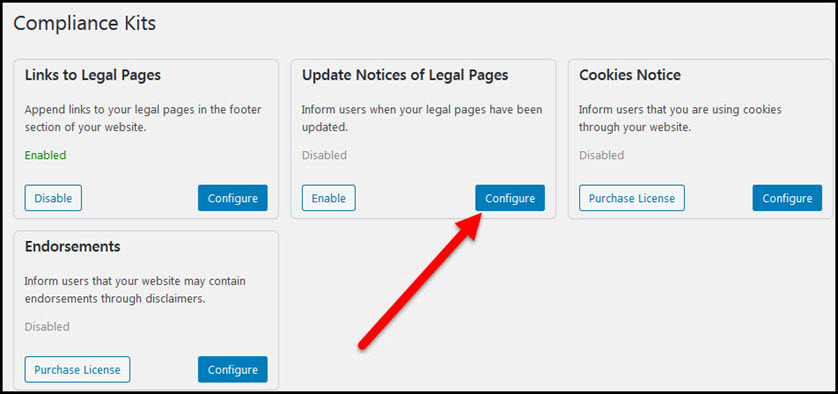
Go to WP AutoTerms/Compliance Kits in your WordPress dashboard:
Click the Configure button for the Update Notices of Legal Pages section:
Use the following settings for the update notices:
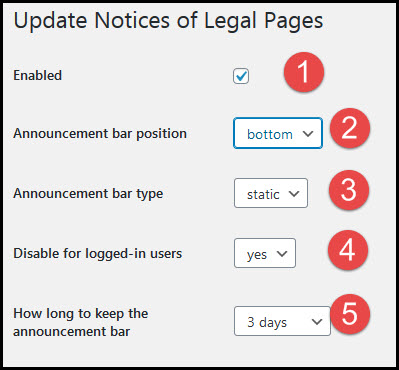
The rest of the settings have to do with the text and colors of the messages. You can leave them as-is.
Scroll down and click the Save Changes button:
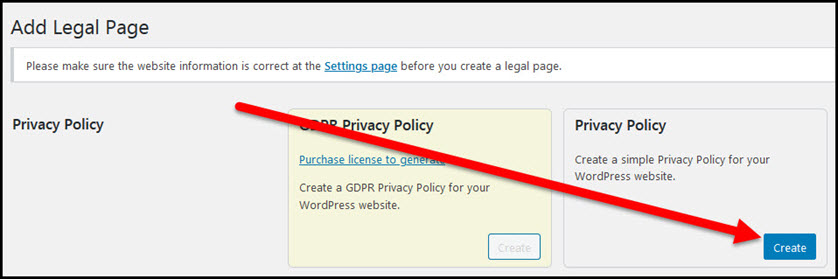
Go to WP AutoTerms/Add Legal Pages:

Click the Create button for the Privacy Policy page:
The top portion of the settings options should already be filled out with your site and location information.
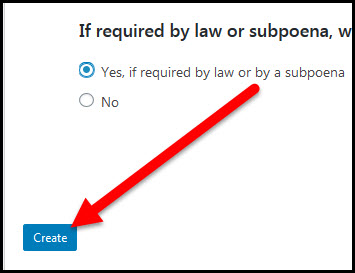
Use the following options for the remaining settings options (although choose the correct answer for your website):
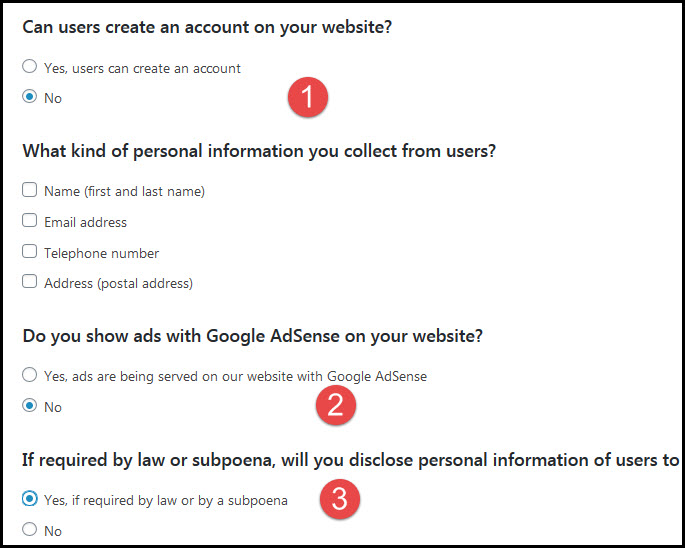
Click the Create button:
Click the Publish button on the right side of the screen:
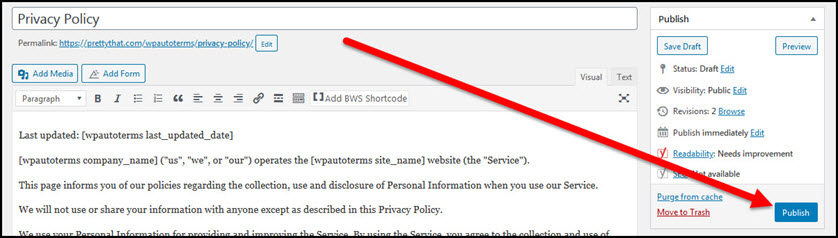
Your Privacy Policy page is now live and you should see a link to it on the home page of your site. If not, you can find it at yourdomain.com/privacy-policy. (If you don’t see the link on your home page you’ll be fixing that in a future set of steps in this series.)
Phew! I know that was a lot but it’s all good stuff for your website!
There are lots of other settings within these must-have plugins and you should get to know more about them over time but these settings are the ones I’ve relied on after 10 years of building websites.
They’ll give you a strong foundation for your new site.
Your next task is to select a WordPress theme.
Hi Erica! Thanks so much for this information – there were a couple of plugins that I wasn’t aware of.
I have a quick question for you – I notice that you use Yoast SEO… do you also use Jetpack? I’d be interested to know your thoughts on this.
Thanks in advance
Kim, I do not use JetPack. The combination of other plugins I use handle security, most spam, and site speed. I haven’t found that I’ve needed it. 😉 Thanks!