
Once you’ve installed WordPress on a new website you’re faced with configuring the settings that will determine how your site functions and will tell Google (and your visitors!) what your site is about.
Working through those settings can seem incredibly confusing if you’re a beginner.
This guide will walk you through all the changes you need to make to set your site off on the right foot from the start.
This may take some time. You can stop at any point and pick up where you left off later if you have to do this a piece at a time.
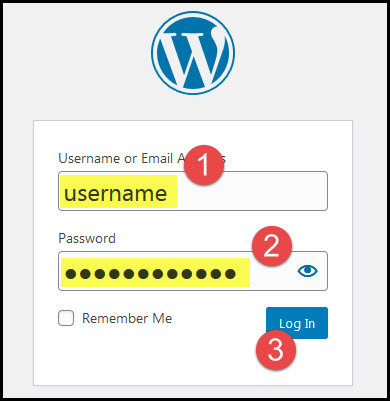
Log into your WordPress dashboard by going to yourdomain.com/wp-admin (remember to change yourdomain.com to YOUR domain).
(The wp-admin slug in the URL is the default login slug for any WordPress site and is only different if you’ve changed it by way of a plugin or by manually tweaking your site’s files.)
Enter your admin and password information and click the Log In button:
If your password isn’t working (and I’ve run into this before even though I’m using the login information shown to me at the completion of my WordPress installation) click the “Lost your password” option:
- Check your email for a password reset email and click the link in the email to reset your password – make a note of the new password if you end up changing it (it can take a few minutes for the email to show up but I’ve had instances where the email doesn’t show up – in those cases I click the “Lost your password” option AGAIN)
Clean Up Installed Plugins
Pre-installed plugins are taking up space
You may see some notices or requests to do some things at the top of your WordPress dashboard. Those are coming from plugins installed by your host. You can Ignore those for now as you may not end up keeping those plugins:
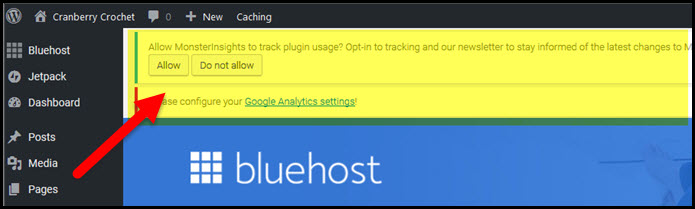
Hover over Plugins in the left sidebar of your dashboard and choose to go to Installed Plugins:

At the very least you’ll find the Hello Dolly plugin which is loaded with every copy of WordPress but you may find others in the list depending on how WordPress was installed.
If you installed WordPress using a one-click or manual installation method you can delete all of the plugins.
If you installed WordPress using a purchased product (like my AZON Breeze theme) you should leave the plugins alone until you better understand which are required by the purchased product.
To delete plugins:
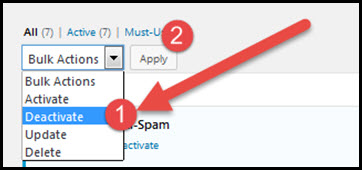
Check the boxes next to all plugins (you may have a plugin in your list that is required by your hosting account and would see a message indicating that is the case or you’ll see a message saying so when you try to delete the plugin – if that’s the case, keep the required plugin):
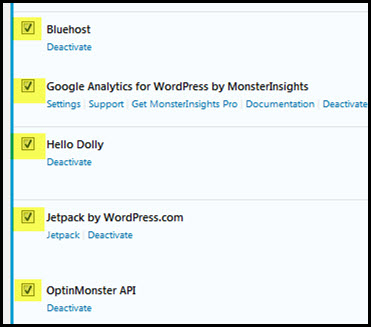
In the Actions box at the top of the list, choose to Deactivate the plugins and then click the Apply button (I like to deactivate plugins before I delete them to make sure they remove any of the settings that might have been applied by the plugin when it was active):
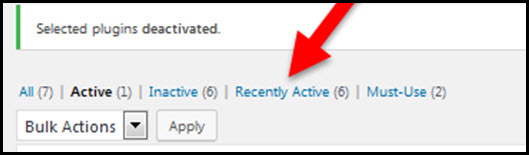
The plugins have now been moved to the Recently Active tab – click the Recently Active link to see the list of inactive plugins:
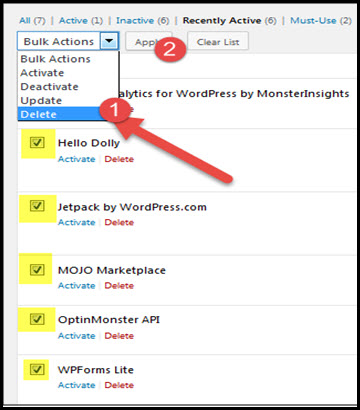
Check the boxes next to the plugins again and then in the actions box choose to Delete them and click the Apply button:
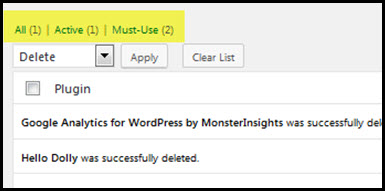
You should now see that you have no plugins installed other than those required by your host and those marked as Must Use plugins:
Basic WordPress Settings
Basic WordPress settings for a new site
There are a number of default settings in a new installation of WordPress that you need to customize to match the name and subject of your website.
You want to also customize some settings to reduce spam and improve the on-page search engine optimization of your site.
To make these settings changes:
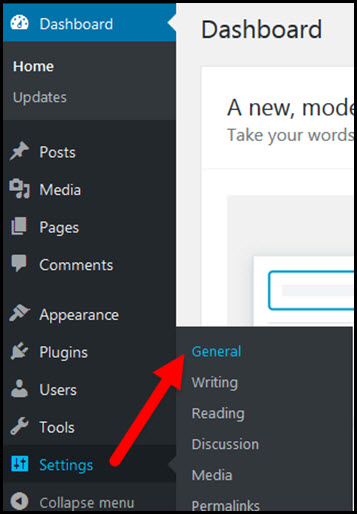
Go to Settings/General in your WordPress dashboard:
The site title should already be filled in but you can change it on this screen. Make sure it’s not your domain but the NAME of your site spelled out with capital letters and spaces in between words:

A tagline is a short explanation of your site. It may be used in several fields of your site:
- It may show up under your site’s name at the top of your site
- It may show as the meta description of your site in the source code
- It may show up as the meta description of your site in search engine results
- It may show up after the site title in the little tab in your browser that shows the name of site showing in that tab
Enter a few words to describe your site in the Tagline field – make sure to include a reference to your niche (the word “crochet” in the example below):

Everything else in the General settings screen can be left as-is unless you want to change the default settings for the date and time format for your site.
Click the Save Changes button at the bottom of the page:
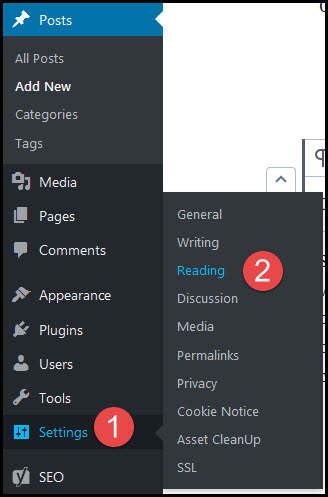
Go to Settings/Reading in your WordPress dashboard:
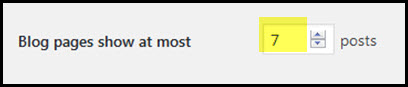
Scroll down to “Blog pages show at most” and change the number to 5, 6, or 7. This will force your site to limit the number of posts that show on the home page.
You don’t want to show a ton of blog posts on your home page as that can cause some instances of duplicate content on your site)
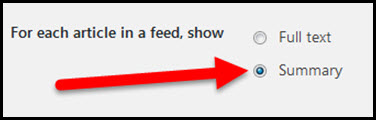
Scroll down to “For each article in a feed, show” and click on the Summary option. This will force only an excerpt of your post to show in an RSS feed rather than people being able to read your entire post simply from a feed instead of visiting your site:
Scroll down to the “Search Engine Visibility” option and make sure the box is UNCHECKED. There is NO need to block your search engine from getting indexed in Google even though you have no content – Google understands that sites are built over time:

All other settings can be left at their default settings.
Scroll to the bottom and click the Save Changes button.
Go to Settings/Discussion in your WordPress dashboard:

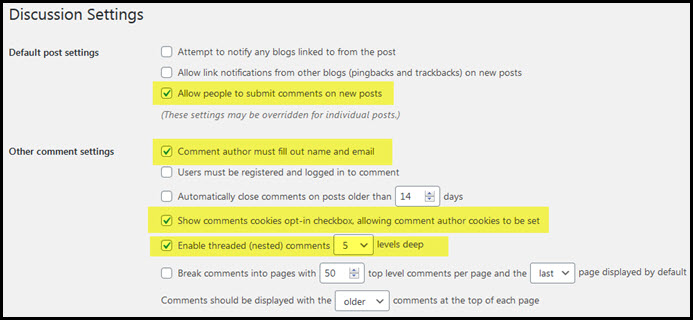
Use the settings in the image below for the “Default article settings” and “Other comment settings” fields:
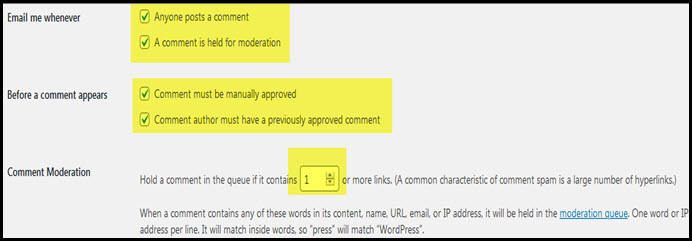
Use the settings in the image below for the “Email me whenever”, the “Before a comment appears”, and the “Comment moderation” fields:
All other options can be left at the default settings.
Scroll down and click the Save Changes button at the bottom of the screen:
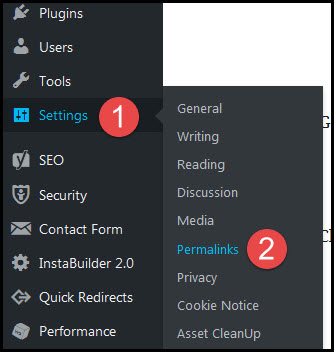
Go to Settings/Permalinks in your WordPress dashboard:
Click on the “Post Name” option:
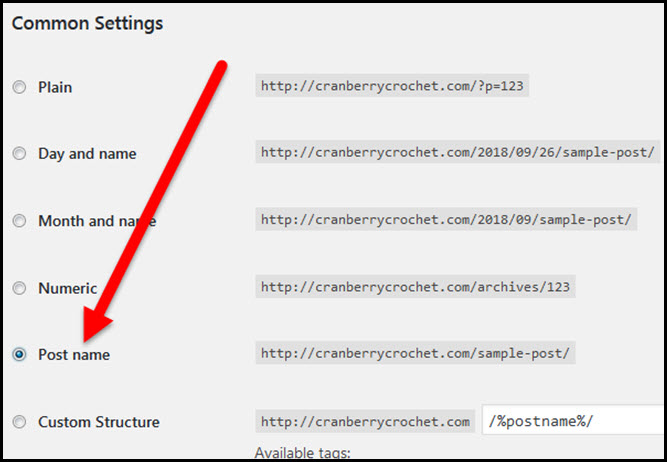
Scroll down and click the Save Changes button even if you didn’t make a change. Sometimes WordPress installations do funny things to permalinks and links to pages and posts stop working. Clicking the Save Changes button on this screen fixes those kinds of problems).
That’s it! Next, you need to remove and change some default items that WordPress installs with every site.