
Before publishing your first post you may want to decide on the Categories you want to use on your site.
WordPress uses Categories as a way to group posts about a similar subject related to your niche.
They help you organize your content so it is easier for your site visitors to find posts about a specific subject.
If you have a blog about sewing you might write posts about patterns, posts about projects you’re working on, posts about sewing machines, and posts about fabric.
You could then have a Patterns category, a Projects category, a Sewing Machine category, and a Fabric category.
When you publish a post about a pattern you would then assign it to the Patterns category.
Your site visitors could then find all posts about patterns in one place.
See how Categories are like a filing system for your website?
If you’ve followed the steps in my WordPress site set-up series of posts then you can add categories and change a post’s assigned category at any time without breaking links to your posts.
This is because I had you remove the category name from each post’s URL using a setting in the Yoast SEO plugin.
What Things Will You Write About?
Do some brainstorming
You’ve already chosen your website’s niche but now you need to think about the subtopics within that subject that you’ll be writing about inside your individual posts.
If you followed my instructions to choose a niche you like and enjoy (something about which you’re passionate) then you already have some ideas about the topics that are important to that niche.
You don’t need to come up with all of your Category names just yet. You can always add more in the future.
However, if you can brainstorm 3-5 to start with it will guide you in creating the first posts for your website.
If you absolutely can’t come up with the beginning Categories for you site you could always use one called Blog and start there. You can change a post’s assigned category in the future once you see the pattern of subtopics that are starting to show in your published content.
Once you have an initial set of Categories it’s time to create them in your WordPress dashboard.
How to Create Categories in WordPress
Easy dashboard task
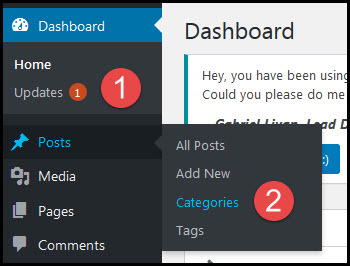
Go to Posts/Categories in your WordPress dashboard:
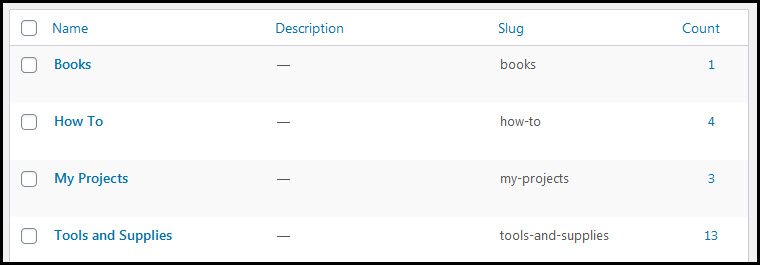
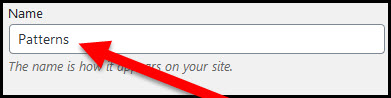
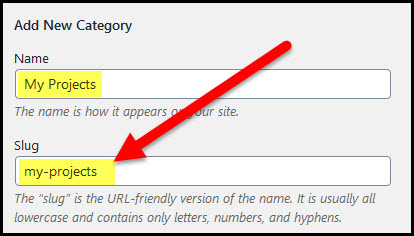
In the Name field enter one or two words (no more than 3) that describe your category.
Capitalize the words in your Category name or put the name in all capital letters.
This name will show in the navigation menu of your site and/or in the sidebar of your site when you set up your navigation menu.
Do not repeat your niche in every category. That looks spammy. For example, if your site is about sewing and you’re going to have a category for patterns, one for projects, and one for fabric you would not call them “Sewing Patterns”, “Sewing Projects”, and “Sewing Fabric”.
Instead, you would use “Patterns”, “Projects” and “Fabrics”.
Your visitors will already know your site is about sewing so repeating that in every item in your navigation menu takes up valuable space and looks repetitive.
Enter your category name in lower case letters and with hyphens between words in the Slug field. A slug is the portion of a URL that comes after the last / sign.
Therefore, the URL for your Category will become yourdomain.com/slug. Since URLs have hyphens between words you need to include the hyphens between words in this field.
Set the Parent Category to “None”, enter a short description for your category, and click the Add New Category button:
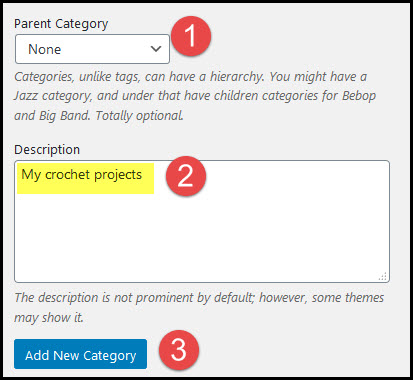
Your new Category is now ready to be assigned to future posts on your site.
Repeat the steps above for each new Category you want to create.
The next task is to put your Categories in your site’s navigation menu so your visitors will see them.