
The navigation menu of your site is critical. It helps visitors understand the kinds of topics covered on your site.
You want the sections of your site that will be MOST important to your target audience to show in the menu.
If you have a sewing blog it’s very unlikely that your audience would want to see your privacy policy page link in that menu.
They’d much rather see a link to your patterns, projects, and tips for success, right?
You can always put links to your miscellaneous pages in your site’s footer or sidebar.
For most bloggers your content Categories are going to be the items your audiences wants to see most along with a link to your site’s home page and maybe a link to your About page – if there’s room.
If your Category names are too long or you have too many it can create a multiple row navigation menu and that looks a bit sloppy.
Configuring Your Navigation Menu
Making the changes in WordPress
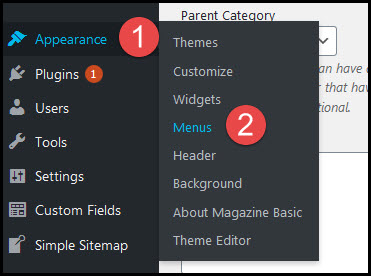
Go to Appearance/Menus in the left sidebar of your WordPress dashboard:
Enter the word “Main” (without quotes) in the and Menu Name box and click the Create Menu button:

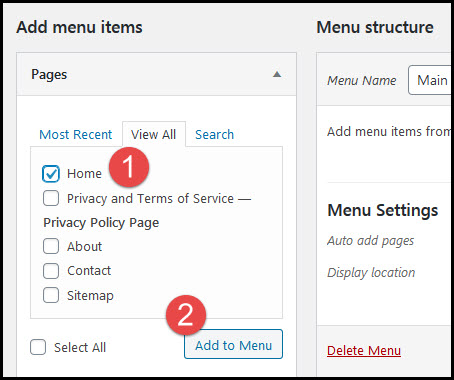
Click the View All link in the Pages box:

Check the box next to the Home page option and click the Add to Menu button:
Scroll down and click the drop down arrow for the Categories box:
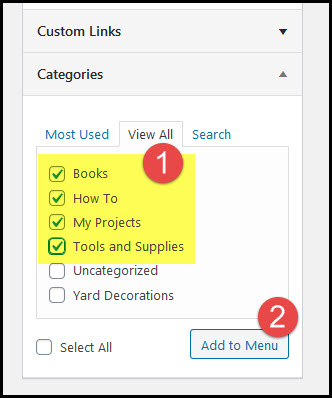
Click the View All link in the Categories box:
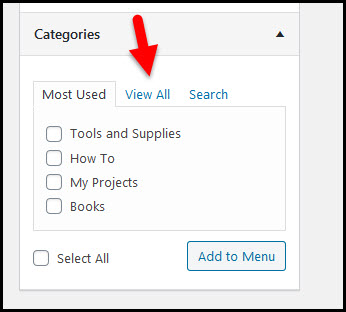
Check the box next to each Category you want to add to your navigation menu and click the Add to Menu button:
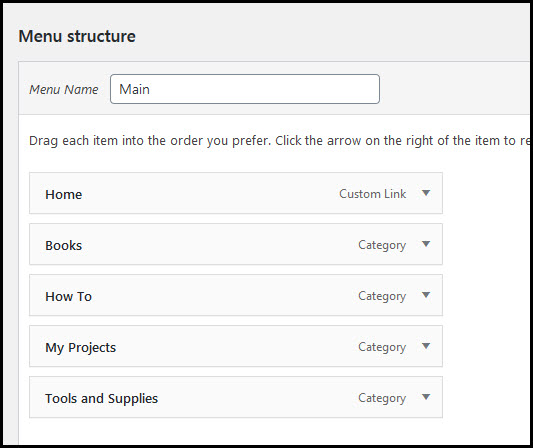
The middle part of the screen – under Menu Structure – shows all of the items you’ve selected to show in your navigation menu.
You can now click and drag the items into the order in which you want them to show:
If you indent one item under another it will become a DROP DOWN item that will only show if a visitor hovers over or clicks on the item above the indented item:
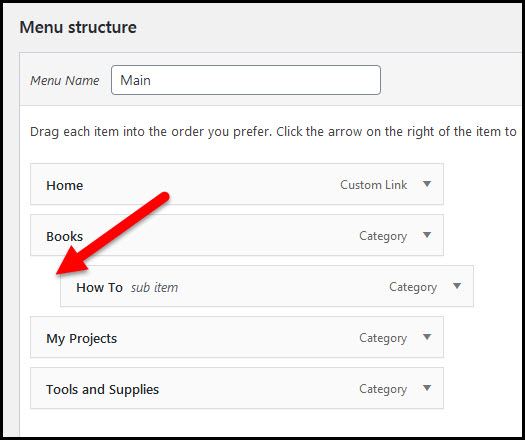
Use drop down items carefully. You want the arrangement of items to make sense to your site visitor.
If you accidentally indent an item you can click and drag it back into place.
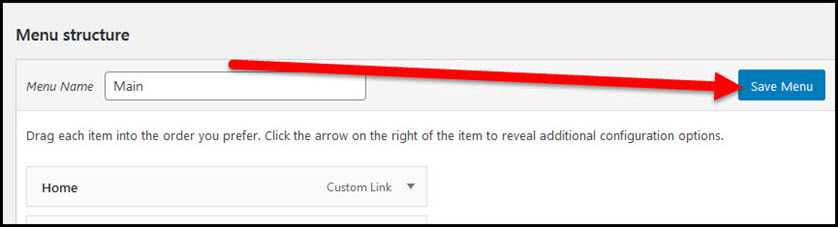
When you’re comfortable with your navigation menu arrangement click the Save Menu button:
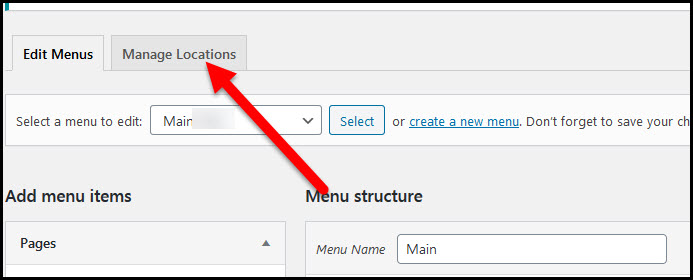
Click the Manage Locations tab:
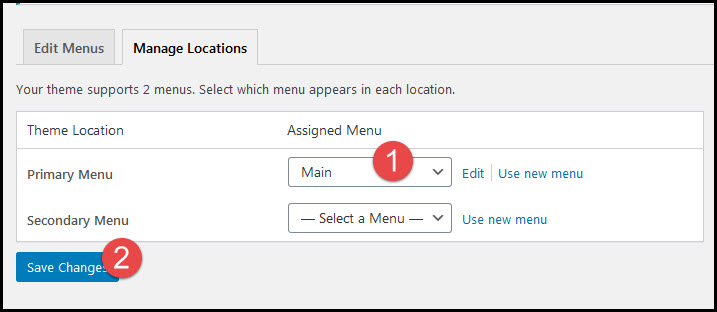
Use the drop down box for the Primary Menu field to choose the new “Main” menu that you created and click the Save Changes button:
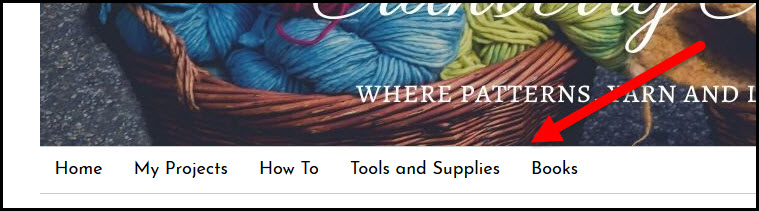
Check the home page of your site and your navigation menu should now show your customized selections.
You’re awfully close to getting content on your site! Next, let your site visitors know there’s a real person behind the scenes by creating your About page.