
Studies show that you have only a few seconds to impress a new site visitor before they click the back button and leave your site.
The header of your site is the first thing those visitors are going to see.
Many WordPress themes allow you to install a custom header image.
Creating one allows you to personalize your site, let visitors know what your site is about with visual cues, and can help to keep new visitors on your site longer.
There are lots of graphic art services you can hire to create a header image for your site but if you’re starting out on a shoestring budget you can create a very professional header for free.
Here’s how to get that done:
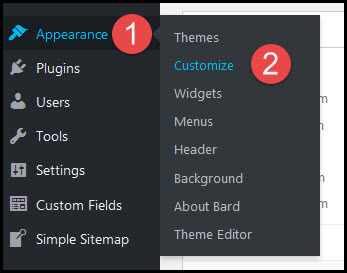
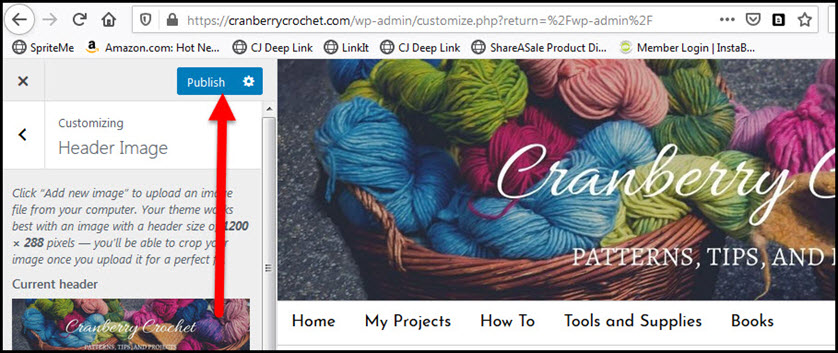
Go to Appearance/Customize in your WordPress dashboard:
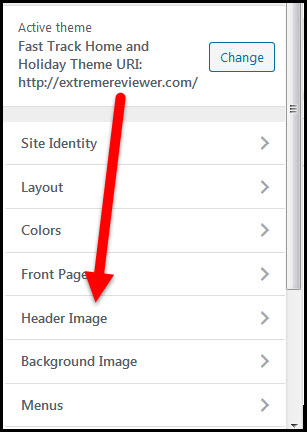
Click on the Header Image tab:
Look for information about the recommended header image size for your theme:
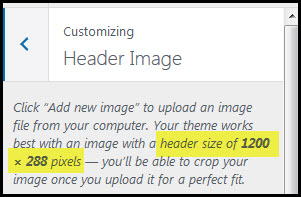
Make a note of the size information.
The first number should be the recommended width. The second number should be the recommend height. (If you don’t see any size information start with an image of 1200px wide by 300px tall. You can always create a new image with different dimensions if necessary.)
In another tab of your browser go to Canva (my referrer link).
Create a free account or log in if you already have one.
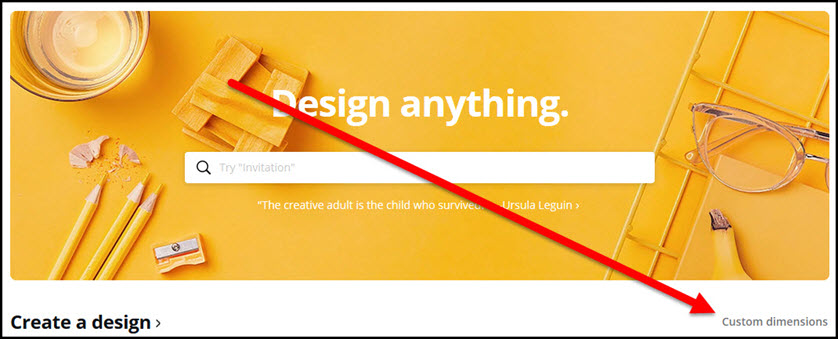
Click on the Custom Dimensions link:
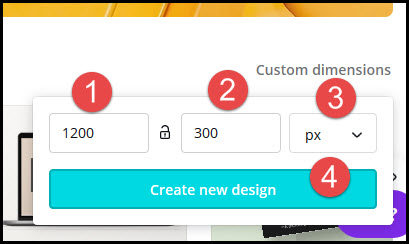
Enter your theme’s recommended header image width in the first box and your recommended height in the second box. NOTE: If your recommended width was 1200px or greater choose a height of 300px even if your theme said something else. You’ll have the greatest set of pre-designed options on Canva and can crop the header image later.
Make sure you choose “px” (pixels) for the measurement and then click the “Create new design” button:
Click on the Templates tab and scroll through the available templates:
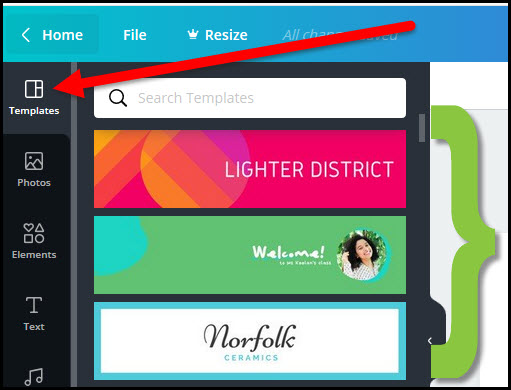
Don’t worry so much about the colors and photos in the template – you can change all of that. Instead, focus on the overall layout.
Hover over a template and look for the word “free” in the lower right corner. That means the template is free to use.
When you find a template you like click on it and it will automatically fill your blank canvas:
If your template has a photo in it – either someplace in the template or as the background – click on the Photos tab on the left sidebar:
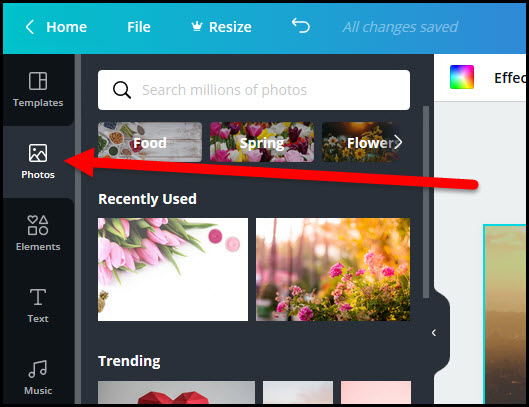
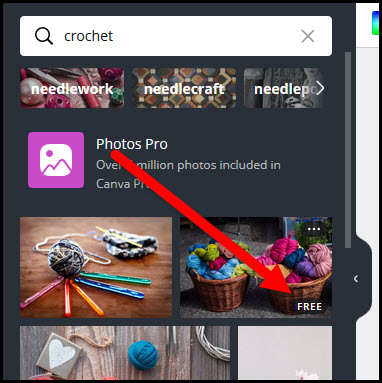
Enter a word or phrase for your niche in the search box:

Find a free photo that you’d like to use on your canvas:
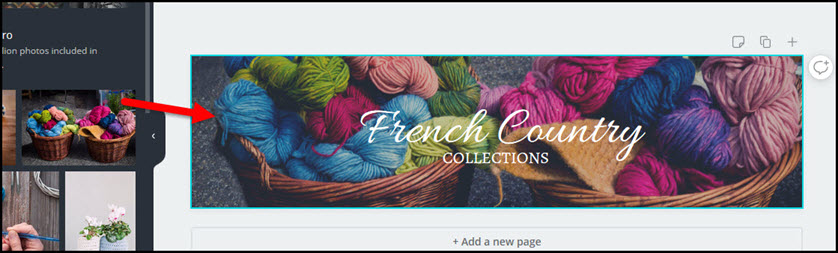
Click on the image and drag it over to your canvas until it automatically fills the place where the photo is located on the template:
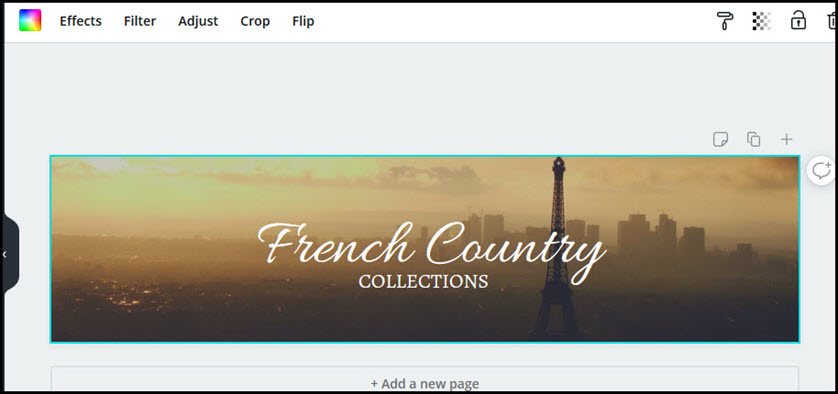
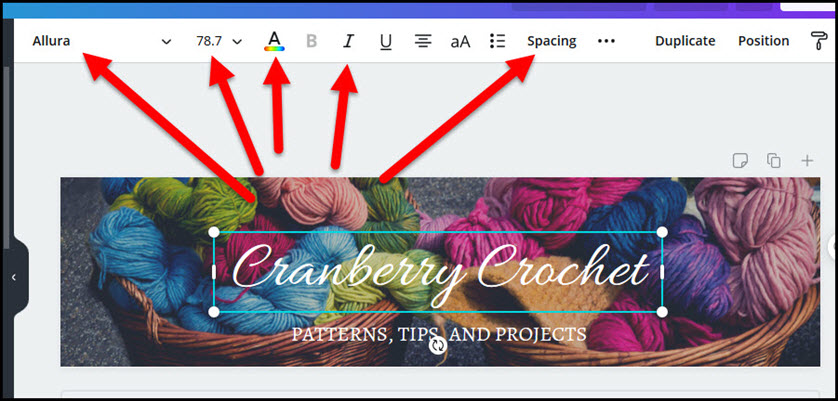
Click on any of the text on the image and change it to match your site’s name and tagline:
Click on the image and use any of the editing options to adjust, filter, or crop the image:
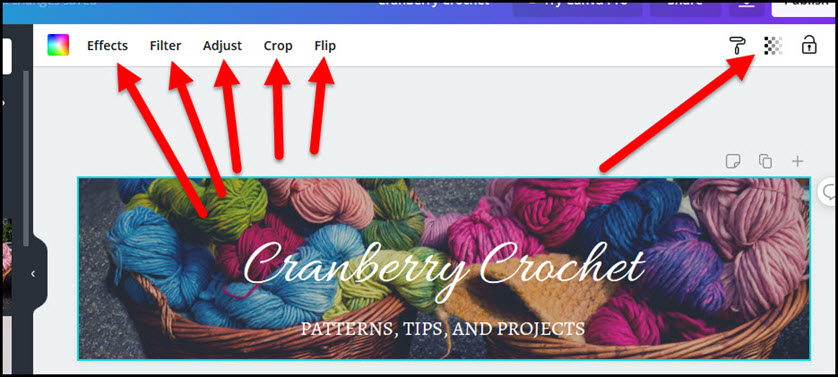
Click on any text and use the toolbar to change the font family, size and color:
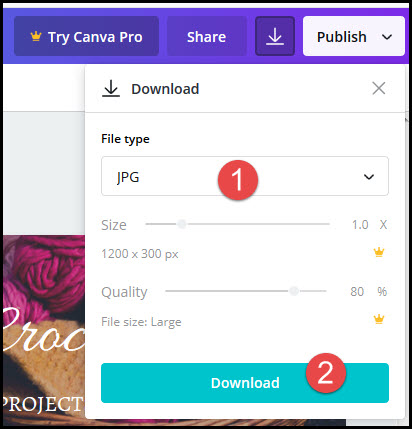
When you’ve finished editing your image click the download arrow:
Change the file type to jpg to keep the file size small and click the Download button:
Save the photo to your computer.
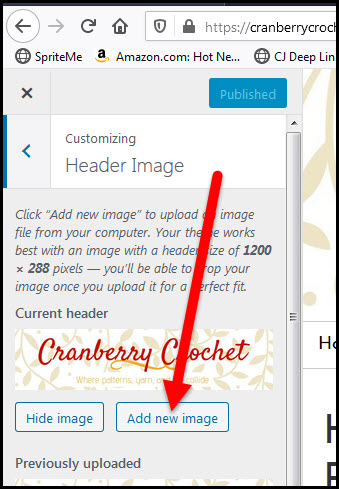
Back in your WordPress dashboard click on the Add New Image button:
Click the Upload Files tab in the pop-up box:
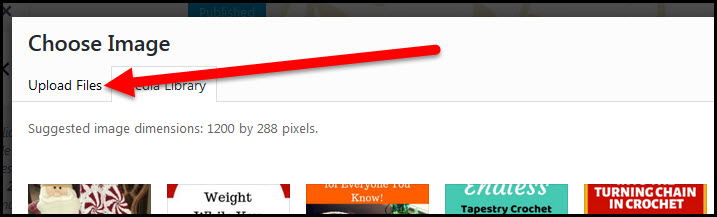
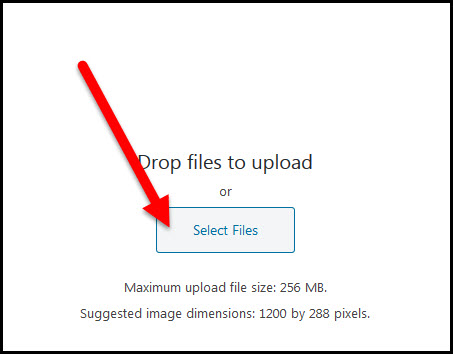
Click the Select Files button:
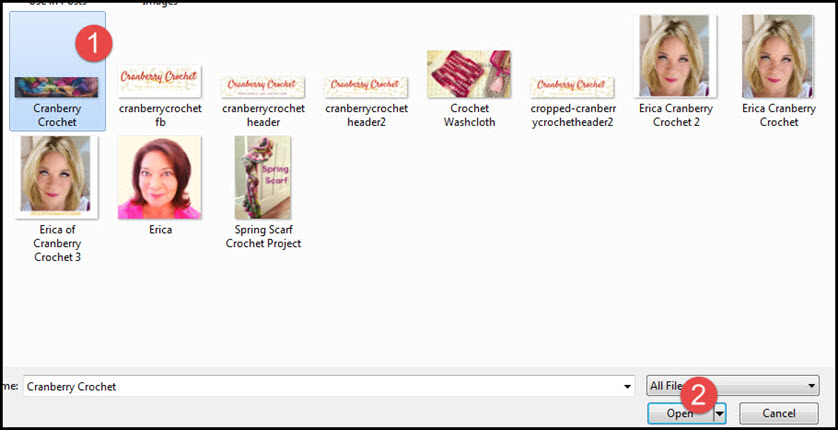
Browse your computer’s folders to find your header image, click on it to select it, and then click on the Open button:
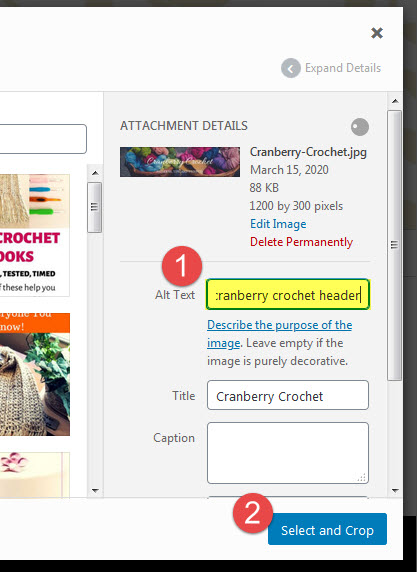
On the right side of the pop up box enter your site name plus the word “header” in the Alt Text field and click the Select and Crop button:
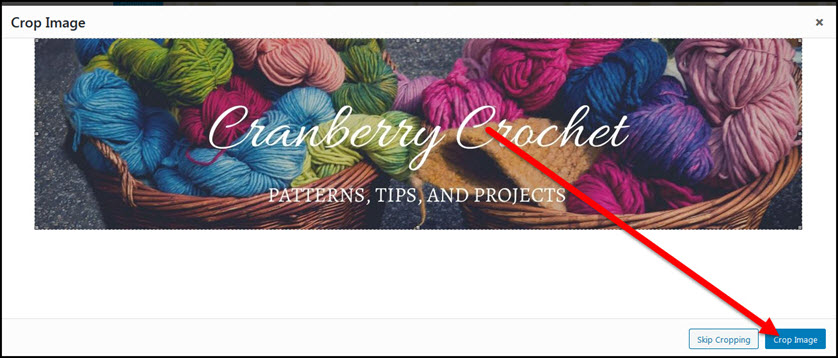
Click and drag any handles on the sides, top, and bottom of the image to highlight the portion of the image you want to show at the top of your site:
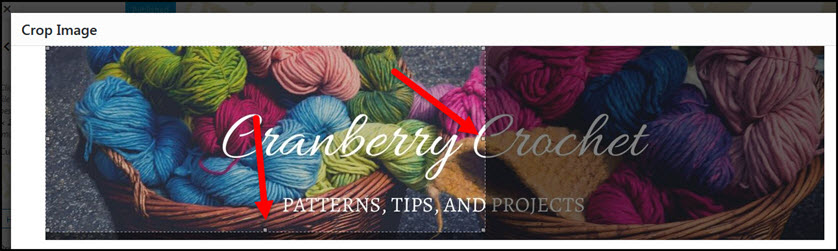
When you’ve finished selecting your image click on the Crop Image button:
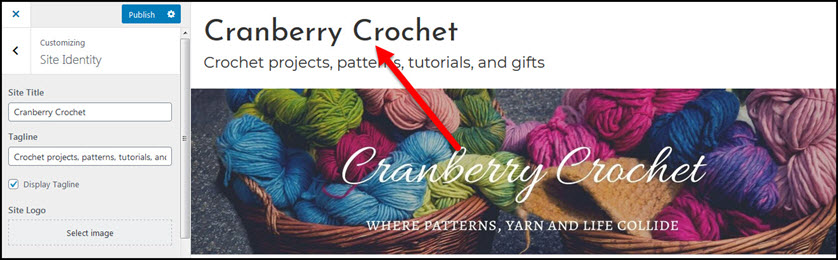
You may see that your site name is showing twice – one instance is the text you placed on your image and the other is being placed over the image by your theme:
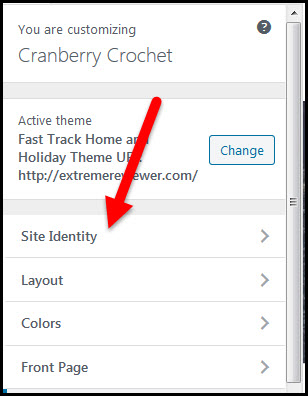
If so, click the back arrow in the Customizer screen:
Click on the Site Identity tab:
Uncheck the Display Tagline AND Display Site Title and Tagline boxes:
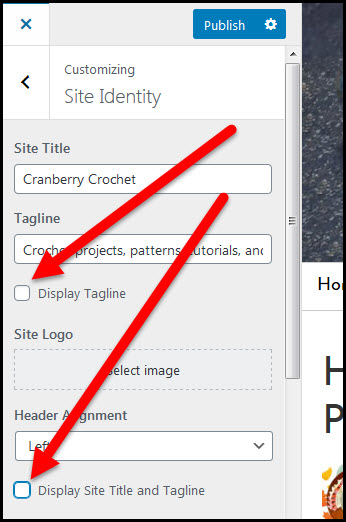
Click the Publish button to save your change:
Click the x to return to your WordPress dashboard:
Check the live view of your site. If your image looks funny or needed elements (like text) aren’t showing as they should you may need to create an image in a different size, resize your current image, or crop the image differently to make it work.
When done, your site will have a whole new look!
Next, you should add your site to Google Search Console to help your site perform better in search results and so you can gather important information about your site in the future.